support@meisterdrucke.com  ·  0043 4257 29415

Deutsch English Italiano Español Français Nederlands Português Svenska Polski Dansk
Search by artist, work title or style – e.g. Monet, Starry Night, Impressionism, Hokusai wave, nude. Describe the scene – e.g. green meadow, abstract with lots of red, dark oil painting, standing nude next to a tree.

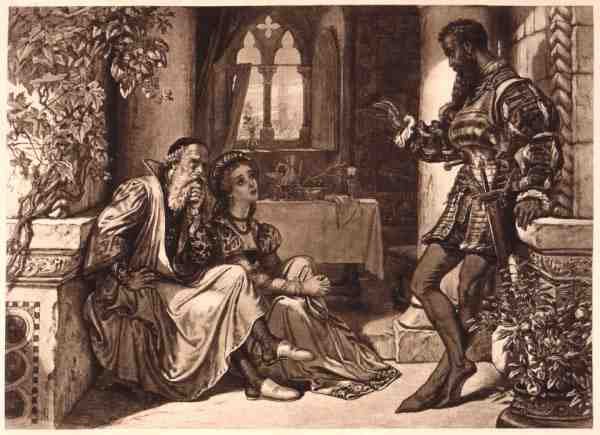
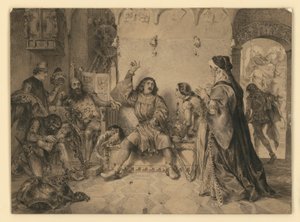
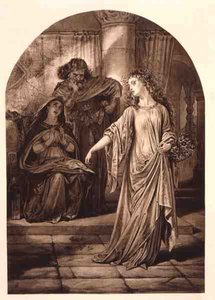
Scene from Othello, Act I Scene 3, by William Shakespeare by English School

Scene from Othello, Act I Scene 3, by William Shakespeare

(Scene from Othello, Act I Scene 3, by William Shakespeare (1564-1616) (engraving))


English School

€ 129.33
Tax-free
   Configure art print
Undated  ·  engraving  ·  Image ID: 1103022

Cultural Circles

Scene from Othello, Act I Scene 3, by William Shakespeare by English School. Available as an art print on canvas, photo paper, watercolor board, natural paper, or Japanese paper.
Private Collection / Bridgeman Images
AR/3D   View in 3D / AR zu Favoriten hinzufügen   Add to favorites    Change wall color    View picture in a room
0 Reviews

Configure art print

Picture Frame

Medium & Stretcher

Glass & Passepartout

Miscellaneous & Extras

 Save / compare configuration
Preview Icon

Summary

Gemälde
Veredelung
Keilrahmen
Museumslizenz

€ 129.33
(inkl. 20% MwSt)
   Add to cart

Bildschärfe: PERFEKT

If you'd like us to adjust the brightness, colors, or crop the image, we're happy to do this for you at no extra cost. Just get in touch!

Similar artworks selected for you

Ophelia, in Hamlet by William Shakespeare Mr George Bennett as Othello and Mrs Jane Bennett as Desdemona, Act IV Scene 2, in Othello by William Shakespeare Henry IV Reproving Prince Henry, from Henry IV by William Shakespeare (1564-1616) Scene from Hamlet - King, Ophelia, and Laertes, 1852 The Queen Dowager Putting Herself and Her Daughters under the Protection of Richard III, Illustration from David Hume John Knox reproving Mary, Queen of Scots, illustration from ’The Church of England: A History for the People’ by H.D.M. Spence-Jones, published c.1910 King Lear, Act 5 Scene 3, by William Shakespeare John Knox admonishing Mary Queen of Scots about her planned marriage to Don Carlos, son of Philip II of Spain, 24 June 1563, from Karin Mansdatter Visits Erik XIV in Prison Othello, the Moor of Venice - Illustration in “Complete Works by William Shakespeare”, 1866 - The illustrations and general form of this edition are borrowed from Cassell Act IV Scene V from Hamlet John Knox admonishing Mary Queen of Scots, engraved by A.H. Payne Signing of the Death Warrant of Lady Jane Grey Knight Telling of His Experiences Joan of Arc in Prison, Act III, in Henry VI, by William Shakespeare Lindor’s letter, illustration from ’The Barber of Seville’ by Pierre Augustin Caron de Beaumarchais (1732-99) Signing of the Death Warrant of Lady Jane Grey Othello The trial of queen Catherine Illustration for Hamlet: The Players Represent the Death of Hamlet Fredegonde confides his concerns to harp player Barbantini because his lover Chilperic, then the King of the Francs Chilperic I, did not marry him. 565. Engraving from 1871 in Moscow Revolt of 1682 The Duchess of Cleves, Mary von Julich Duchess of Juliers and Berg (1491-1543), Learns of the Dissolution of the Marriage Between Her Daughter, Anne of Cleves (1515-1557), and the King of England Henry VIII (1491-1547) in 1540. Engraving from 1871 in King Philip II (1527-1598) surprises his son, Prince Don Carlos (1545-1568), trying to violate his stepmother, Queen Elisabeth (1545-1568) (Elisabeth of France or Isabelle of Valois), January 17 Illustration for Hamlet: Hamlet and the Queen (III,4) Martin Lightfoot undertakes to be the bearer of the letter to Earl Leofric, illustration from Hereward the Great by Charles Kingsley Jean Nicot Presenting the Tobacco Plant to Catherine de Carpenter, Haberdasher, Weaver, Dyer and Tapestry Maker, from Old England: A Pictorial Museum Duke Ludwig I and Ludmilla
Show more similar artworks

More art prints by English School

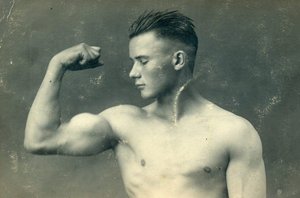
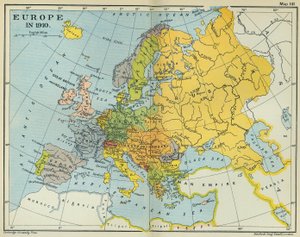
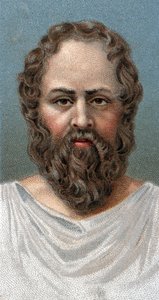
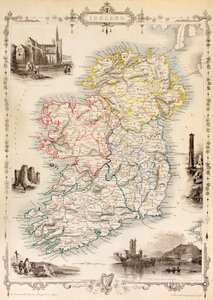
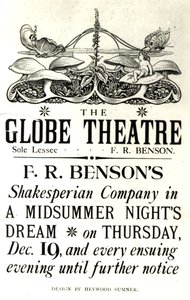
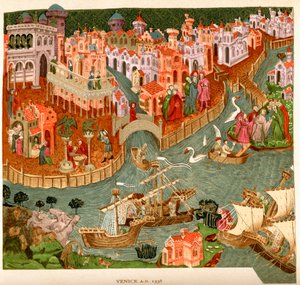
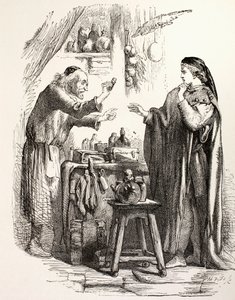
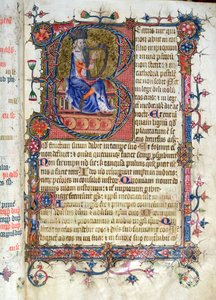
Church and Cottage with Lighted Windows Portrait of a bodybuilder, c. 1898 The Portrait of King Richard III Kidbrooke Park, Kent, formerly attributed to George Lambert (1700-65) c.1740-50 Map of Europe in 1910 Portrait of the Greek philosopher Socrates (469-399 BC) - From the series “Leaders of Men” - Chromolithography - English School, 20th century Map of Ireland from ’The History of Ireland’ by Thomas Wright, published c.1854 Poster advertising ‘A Midsummer Night Map of the world with possessions of the British Empire coloured red, c. 1870 Venice, 1338, after a manuscript in the Bodleian Library, from Detailed Map of Gallipoli Peninsula and the Dardanelles, Turkey, 1915, from Romeo buys poison from the apothecary, illustration from Romeo and Juliet, from "The Illustrated Library Shakespeare", published in London 1890 Winston Churchill on horseback in Bangalore, India in 1897, from ’A Roving Commission by Winston S. Churchill’, published by Scribner’s, 1930 Ms 26 fol. 7r. Psalm 1, David harping, from the Ramsey Abbey Psalter, c. 1380
Show more works by English School

A selection of our top sellers

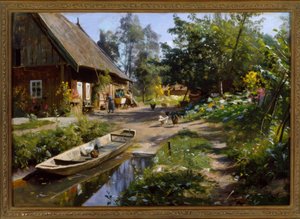
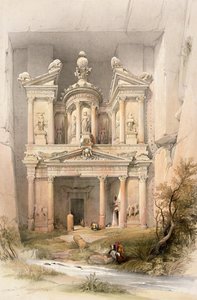
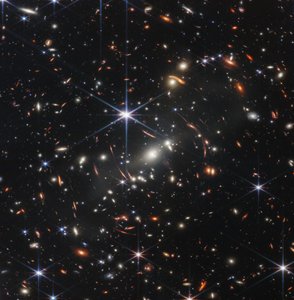
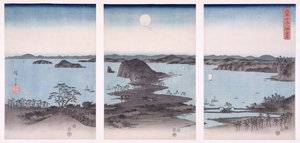
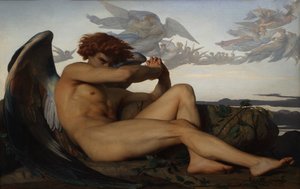
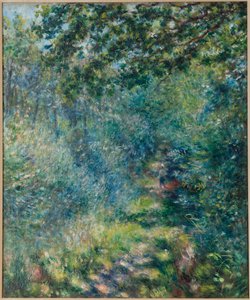
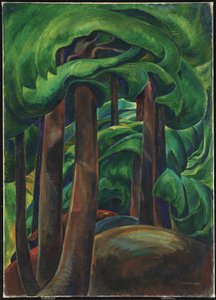
The Cactus Lover Sunny Day in the Countryside View of the Naruto whirlpools at Awa, from the series Petra, March 7th 1839, plate 92 from Volume III of „The Holy Land“, engraved by Louis Haghe (1806-85), published 1849 Lensing Galaxy Cluster (Webb Panorama of Views of Kanazawa Under Full Moon, from the series Cotopaxi Keelmen Heaving in Coals by Moonlight School of Athens, from the Stanza della Segnatura, 1510-11 Fallen Angel, 1847. Group of Egrets, 1925-36 Ghost of a Genius Trail in the woods, c. 1874-77 The Poor Poet Western Forest, c. 1931
Show more artworks


What our customers think about us


Frequently Asked Questions about Meisterdrucke


Personalizing your art print at Meisterdrucke is simple and intuitive: Choose a frame, set the image size, pick a printing medium, and add suitable glazing or a stretcher frame. We also offer additional customization options like mats, fillets, and spacers. If you have any questions, our customer service team is ready to help you create your perfect artwork.

At Meisterdrucke, you can visualize your configured artwork directly in your own room. Simply upload a photo of your space and see how the artwork looks in it. If you're visiting us on a mobile device — phone or tablet — our augmented reality feature brings the picture to life and projects it right into your room. A unique experience that combines art and technology.

Choosing the right medium is often a matter of personal taste. To give you a better idea, we've provided some images for each medium. We also offer a sample set of all paper variants, so you can decide not just visually but by touch as well. You can order the sample set free of charge — only shipping costs apply.

Don't worry! At Meisterdrucke, we don't just process orders mechanically. Every order is manually reviewed by our team. If we spot any inconsistencies or issues with your configuration, we'll get in touch with you right away. And of course, our friendly and patient support team is always here to help you with your configuration. We'll work with you by phone or email to adjust your image so the final result is exactly what you had in mind.


Still have questions?

Are you interested in an art print from our manufactory but still unsure? Do you need advice on choosing the medium or help with the order?

Our experts are happy to assist you.

+43 4257 29415
support@meisterdrucke.com

Mo-Do: 7:00 - 16:00 | Fr: 7:00 - 13:00

Still have questions?

Are you interested in an art print from our manufactory but still unsure? Do you need advice on choosing the medium or help with the order?

Our experts are happy to assist you.

+43 4257 29415
support@meisterdrucke.com
Mo-Do: 7:00 - 16:00 | Fr: 7:00 - 13:00

Meisterdrucke

   Kärntner Strasse 46
        9586 Finkenstein am Faaker See
        Austria
        +43 4257 29415
        support@meisterdrucke.com
Other languages

                   
Erfahrungen & Bewertungen zu Meisterdrucke
Post.at DHL Express Quehenberger Cargoboard
Kaiser Franz Joseph

Meisterdrucke
Kärntner Strasse 46
9586 Finkenstein am Faaker See · Austria
+43 4257 29415 · support@meisterdrucke.com
Post.at DHL Express Quehenberger Cargoboard


(c) 2026 meisterdrucke.uk