-
 ×
× - Home
- Art Prints ▸
- Artists ▸
- Categories ▸
- Art Styles ▸
- Picture Frame ▸
- All decorative frames
- Baroque decorative frames
- Simple decorative frames
- Rustic decorative frames
- Floating frames
- Golden decorative frames
- Silver decorative frames
- White decorative frames
- Black decorative frames
- Wood-look decorative frames
- Shabby chic decorative frames
- Thin decorative frames
- Thick decorative frames
- Print Media ▸
- All print media
- Canvas Leonardo (satin)
- Canvas Salvador (matte)
- Canvas Raphael (matte)
- FineArt Photo Matte
- FineArt Photo Satin
- FineArt Photo Baryte
- FineArt Photo Glossy
- Watercolor Paper Munch
- Watercolor Paper Renoir
- Watercolor Paper Turner
- Watercolor Paper Dürer
- Natural Line Hemp
- Natural Line Rice
- Kozo White, 110g
- Kozo Natural, 110g
- Inbe White, 125g
- Unryu, 55g
- Bamboo, 110g
- Premio Unryu, 165g
- Murakumo Natural, 42g
- Bizan Natural, 300g
- Bizan White, 300g
- Aluminum composite 3mm
- Acrylic glass 5mm
- Order Sample Set
- Which print medium is right for you?
Canvas
Photo Paper
Watercolor Board
Natural Line
Japanese Paper
Special Media
More information
- Help & Service ▸
- Contact us
- Sell your art
- Frequently Asked Questions
- Job Openings
- Complaint
- Order Samples
- Order Vouchers
- Shipping costs
- Production time
- Sustainability
- Image research
- Special requests
- Who are we?
- Pricing policy
- Company policy
- Quality promise
- Awards
- Stretcher frame
- Mats
- Decorative frames
- Glazing
- Fillets
- Mounting systems
- Print media
- Care tips
- Legal Notice
- Terms & Conditions
- Privacy Policy
- Right of Cancellation
Info & Service
More information
Good to know
Legal information
- Shop ▸
- Contact





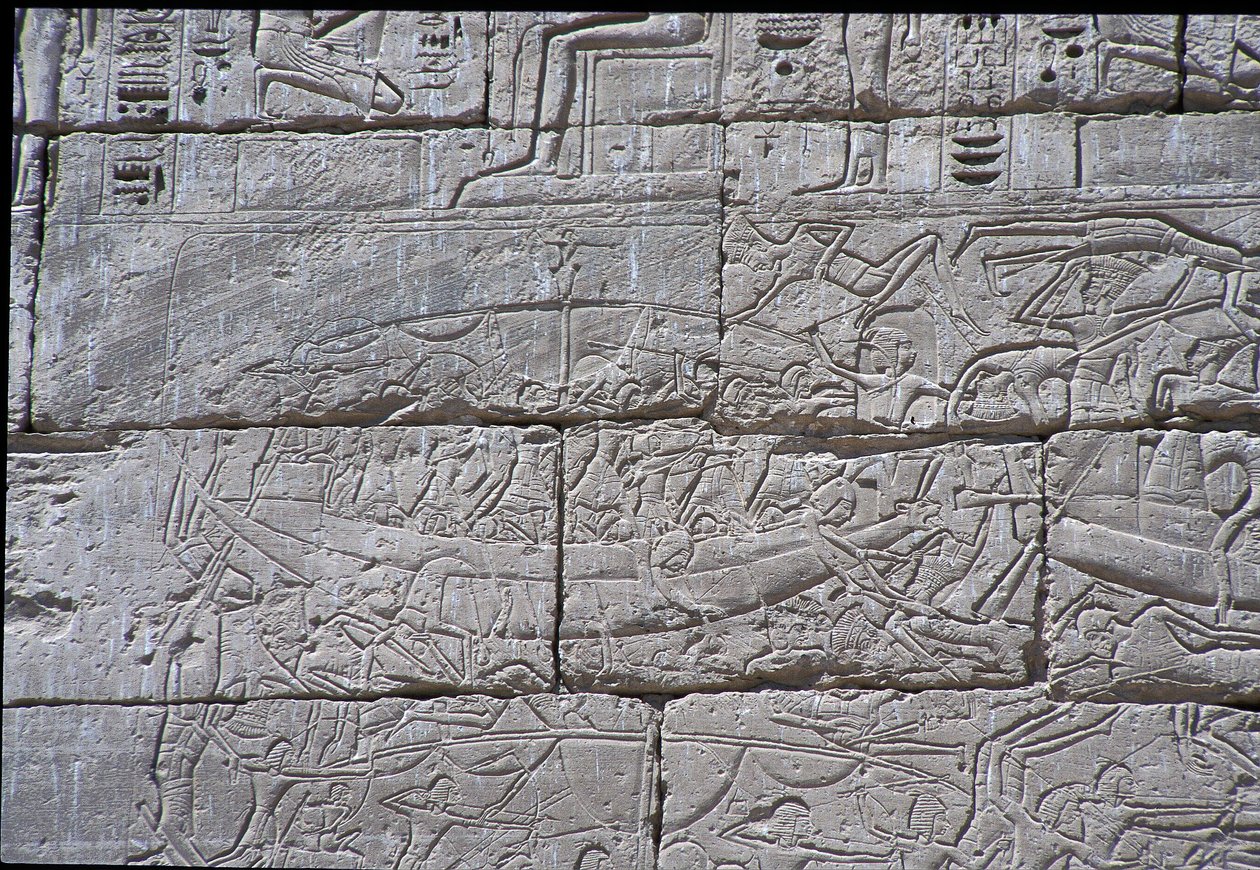
.jpg)
.jpg)
.jpg)
.jpg)
 View in 3D / AR
 Add to favorites
 Change wall color
 View picture in a room
.jpg "Egyptian Antiquities: View of the Reliefs Celebrating the Feats of Ramses II During the Battle of Qadesh in 1274 BC, Funeral Temple Dedicated to Pharaoh Ramses II")
.jpg "Seti I")
.jpg "Relief depicting Egyptian troops storming the Hittite city of Dapur, from the Great Hypostyle Hall")
.jpg "Queen Hatshepsut before God Amun (detail)")
.jpg "Bas-relief with Battle Scene, Ramesseum, Mortuary Temple of Rameses II, Luxor, Thebes (UNESCO World Heritage Site)")
.jpg "Karnak Thebes, Enclosure of the Palace - Details of Sculptures at Point O, 1851-52, printed 1853-54")
.jpg "Scenes of Offerings to Gods, Relief, Interior Walls of Great Hypostyle Hall, Karnak Temple Complex")
.jpg "Seti I")
.jpg "Egyptian antiquity: view of the reliefs celebrating the feats of Ramses II during the Battle of Qadesh in 1274 BC, Mortuary Temple dedicated to Pharaoh Ramses II (1279-1213 BC), site of the Ramesseum in Luxor, Egypt.")
.jpg "Wall of Aspelta (detail)")
.jpg "Relief, Temple of Amun, Luxor, Ancient Thebes (UNESCO World Heritage List)")
.jpg "Seti I")
.jpg "The Conquests of Seti I in Syria and Palestine, relief, outer wall of Great Hypostyle Hall, Temple of Amun, Karnak Temple Complex")
.jpg "The battle between the Egyptians and the Hittites at Kadesh, relief, Main Temple of Abu Simbel (Unesco World Heritage List)")
.jpg "Relief of Rameses III Smiting Enemies, Mortuary Temple of Rameses III, Medinat Habu")
.jpg "Rameses III Smiting His Enemies Before Amun-Ra, Mortuary Temple, Medinat Habu, Egypt")
.jpg "Relief representing bearers of offerings. Tomb of Ankh-Hor (TT414), 26th Dynasty, Luxor (Thebes), Egypt")
.jpg "Ramesses II in front of sacred boat, relief, interior walls of Great Hypostyle Hall, Karnak temple complex")
.jpg "Relief of the battle of Kadesh showing soldiers of Pharaoh Ramses II fighting Hittite soldiers of King Muwatalli")
_Neagle_-_Egypt_Old_Thebes_Luxor_Karnak_Temple_Complex_Precinct_of_Amun-Re_Great_Hypostyle_-_(MeisterDrucke-1083544).jpg "Karnak Temple Complex, Precinct of Amun-Re, Great Hypostyle Hall, North wall, Relief with Seti I war scenes in Syria and Palestine, (detail)")
.jpg "Ramesses II in Front of Sacred Boat, Relief, Interior Walls of Great Hypostyle Hall, Karnak Temple Complex")
.jpg "Philistine prisoners being led away, from the Temple of Ramesses III (c.1184-1153 BC), New Kingdom")
.jpg "Relief depicting the transport of wood by sea")
.jpg "Paleography - Egypt - Karnak (UNESCO World Heritage)")
.jpg "Island of Arvad, Top Right, on the Lebanese Coast")
.jpg "Detail of the reliefs of the first pylon representing the capture of fighters belonging to the peoples of the sea, enemies of Ramses III. Funeral Temple of Ramses III, Luxor, Medinet Habou, Egypt")
.jpg "Inherkhau worshipping Sito, serpent God of the Underworld, from the Tomb of Inherkhau, Thebes (wall painting)")
.jpg "Adoration of the Rising Sun in the Form of the Falcon Re-Horakhty, New Kingdom, c. 1150 BC (papyrus)")
.jpg "Egypt, Thebes, Luxor, Valley of the Kings, Tomb of Prince Mentuherkhepeshef, mural painting of the cat-headed goddess Bastet, 20th Dynasty")
.jpg "Detail from the Book of the Day from the ceiling of the burial chamber of the Tomb of Ramesses VI (r. 1143-1136 BC), New Kingdom")
.jpg "The dead, their family and their servants, from the Tomb of Ankerkhe, Workmens Tombs, New Kingdom")
.jpg "Egypt, Luxor, Ancient Thebes, Valley of Queens, Amonherkhopeshaf")
.jpg "Detail from the Book of the Earth, from the burial chamber of the Tomb of Ramesses VI (r. 1143-1136 BC), New Kingdom")
.jpg "Egyptian Antiquity: Cartouche of Pharaoh Ramses III. Funerary Temple of Ramses III (1187-1156 BC). Luxor, Medinet Habu, Egypt")
_from_his_to_-_(MeisterDrucke-418447).jpg "Isis Pterophor, from the sarcophagus of Ramesses III (c. 11854-1153 BC) from his tomb in the Valley of the Kings, New Kingdom")
.jpg "Egypt, Thebes, Luxor, Valley of the Kings, Tomb of Prince Mentuherkhepeshef, mural painting of Cat-head goddess Bastet, 20th dynasty")
.jpg "Detail of the Outer Coffin Lid of the Mummy of Nesyamun")
.jpg "Servants driving an oryx and an antelope and others carrying baggage, from the Mastaba of Akhethotep, Saqqara, Old Kingdom")
.jpg "Relief depicting Northern Prisoners at the Battle of Ramses III, Great Temple of Medinet")
.jpg "The Spirit of the Deceased Descending into its Tomb from the Book of the Dead of the Scribe Neqbed, New Kingdom")
.jpg "Garden of a High Ranking Egyptian Dignitary, from I Monumenti dell")
 in the Tomb of Seti - (MeisterDrucke-375092).jpg "The god Thoth with Seti I (1394-1279 BC) in the Tomb of Seti I, New Kingdom")
.jpg "Nebamun Receiving Offerings from His Son, from the Tomb of Nebamun, c.1350 BC")
_-_(MeisterDrucke-293178).jpg "Horseman, Left Hand Side, from the Tomb of the Baron")
.jpg "Allegorical representation of Emperor Jahangir and Shah Abbas of Persia, illustration from the St. Petersburg Album")
.jpg "The Beast of the Earth makes fire fall from the sky, from the Apocalypse Tapestry of Angers, 1373-87")
.jpg "Scene from the Book of Amduat showing the journey to the Underworld, New Kingdom")
_-_(MeisterDrucke-420271).jpg "Relief depicting the making and baking of bread, Old Kingdom")
_schlaegt_seine_Feinde_(Reliefierter_bemalter_Kalkst_-_(MeisterDrucke-420268).jpg "Ramses (1279 - 1213 BC) strikes his enemies (painted limestone relief, 19th Dynasty)")
.jpg "Two Murals from the Tombs of the Kings of Thebes, discovered by G. Belzoni, plate 5 from “Plates Illustrative of the Researches in Egypt and Nubia”, engraved by Charles Hullmandel (1789-1850), 1820-22")
.jpg "The Weighing of the Heart against the Feather of Truth, from the Book of the Dead of the Scribe Any, c. 1250 BC")
_-_(MeisterDrucke-154727).jpg "Horseman, right-hand side, from the Tomb of the Baron, c. 500 BC")
.jpg "Aerial Life")
.jpg "Impression, Sunrise, 1872")
.jpg "Boys Bathing, 1912")
.jpg "The Noon")
.jpg "Off Connecticut, Newport, 1904")
.jpg "Red Tree")
.jpg "Seated Woman with Bent Knees, 1917")
.jpg "Ball at the Moulin de la Galette")
.jpg "Mona Lisa")
_drawing_by_Moritz_von_Schwind_of_18_-_(MeisterDrucke-933544).jpg "The Symphony of the Cat, drawing by Moritz von Schwind of 1868. Staatliche Kunsthalle Karlsruhe.")
.jpg "Roses, or The Artist")
_-_(MeisterDrucke-598039).jpg "Tiger, 1912")
.jpg "The Origin of the World")
.jpg "Starry Night over the Rhône, 1888")
.jpg "Ploughing in Nivernais, 1849")

 +43 4257 29415
 support@meisterdrucke.com
 Mo-Do: 7:00 - 16:00 | Fr: 7:00 - 13:00