-
 ×
×
- Home
- Art Prints ▸
- Artists ▸
- Categories ▸
- Art Styles ▸
-
Picture Frame ▸
- All decorative frames
- Baroque decorative frames
- Simple decorative frames
- Rustic decorative frames
- Floating frames
- Golden decorative frames
- Silver decorative frames
- White decorative frames
- Black decorative frames
- Wood-look decorative frames
- Shabby chic decorative frames
- Thin decorative frames
- Thick decorative frames
-
Print Media ▸
- All print media
- Canvas Leonardo (satin)
- Canvas Salvador (matte)
- Canvas Raphael (matte)
- FineArt Photo Matte
- FineArt Photo Satin
- FineArt Photo Baryte
- FineArt Photo Glossy
- Watercolor Paper Munch
- Watercolor Paper Renoir
- Watercolor Paper Turner
- Watercolor Paper Dürer
- Natural Line Hemp
- Natural Line Rice
- Kozo White, 110g
- Kozo Natural, 110g
- Inbe White, 125g
- Unryu, 55g
- Bamboo, 110g
- Premio Unryu, 165g
- Murakumo Natural, 42g
- Bizan Natural, 300g
- Bizan White, 300g
- Aluminum composite 3mm
- Acrylic glass 5mm
- Order Sample Set
- Which print medium is right for you?
Canvas
Photo Paper
Watercolor Board
Natural Line
Japanese Paper
Special Media
More information
-
Help & Service ▸
- Contact us
- Sell your art
- Frequently Asked Questions
- Job Openings
- Complaint
- Order Samples
- Order Vouchers
- Shipping costs
- Production time
- Sustainability
- Image research
- Special requests
- Who are we?
- Pricing policy
- Company policy
- Quality promise
- Stretcher frame
- Mats
- Decorative frames
- Glazing
- Fillets
- Mounting systems
- Print media
- Care tips
- Legal Notice
- Terms & Conditions
- Privacy Policy
- Right of Cancellation
Info & Service
More information
Good to know
Legal information
- Shop ▸
- Contact





 View in 3D / AR
 Add to favorites
 Change wall color
 View picture in a room
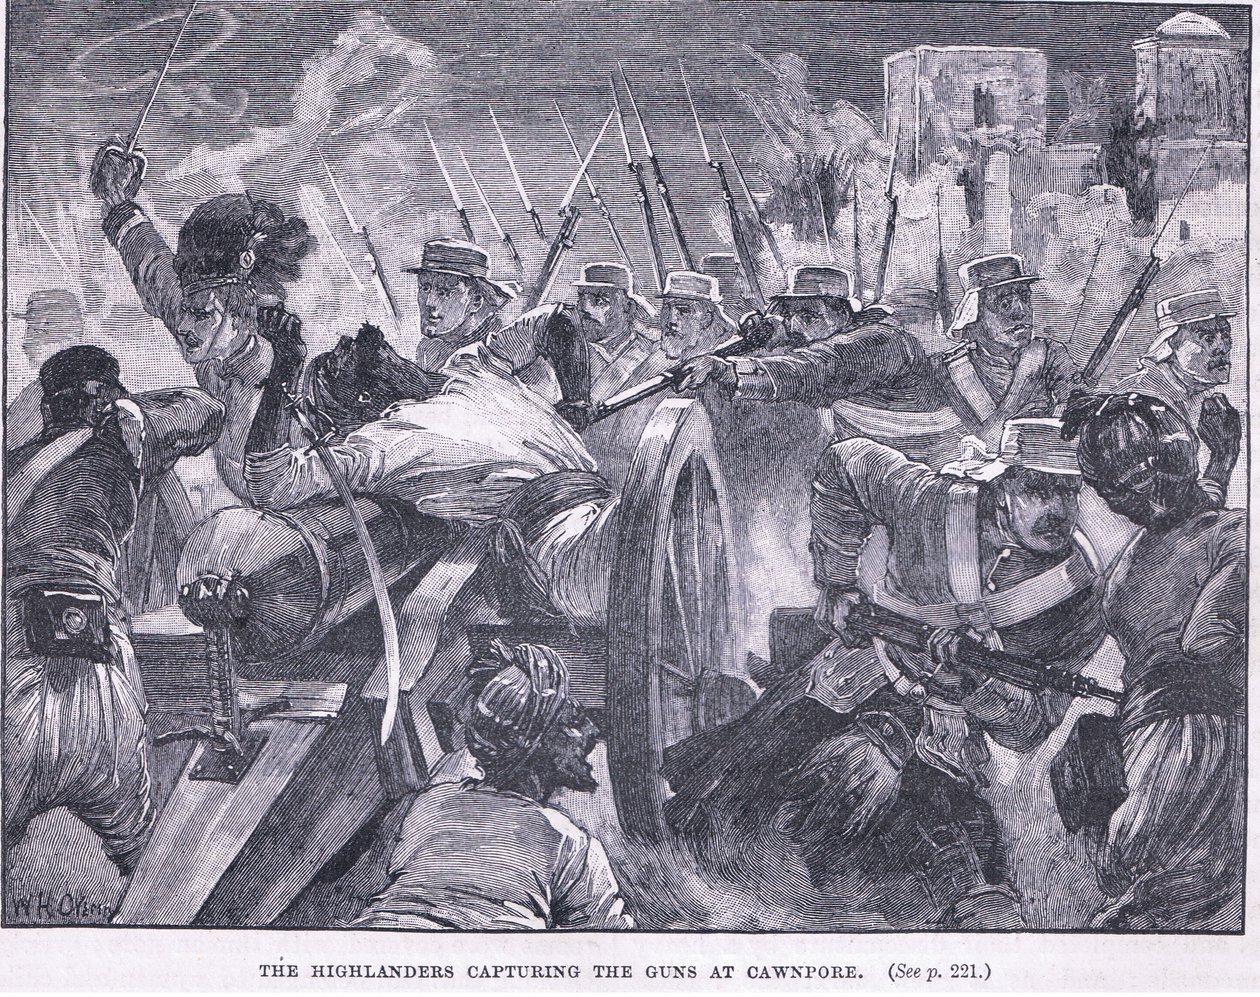
.jpg "Highlanders Capturing the Mutineers")
.jpg "The French in the Malakoff 1855 AD")
.jpg "The Zouves assaulting a rifle pit 1855 AD")
.jpg "The guards recovering the sandbag battery")
.jpg "Capture of a field gun")
.jpg "The Insurrection under Arabi Pasha, 1882: The Battle of Tel-El-Kebir, September 13")
.jpg)
.jpg "Second Anglo-Afghan War 1878-1880")
.jpg "British troops storming the Taku Forts in China in 1860 during the Opium Wars")
.jpg "The War for the Union - A Bayonet Charge")
.jpg "The Stormers dashed over the debris of the breach, illustration from")
.jpg "The War for the Union, 1862 - A Bayonet Charge")
.jpg "The War for the Union, 1862 – A Bayonet Charge")
.jpg "The defence of Dewetsdorp: working a 15 pounder single handed (illustration from After Pretoria: The Guerilla War)")
.jpg "Bayonet Charge at Talavera AD 1809")
.jpg "The War for the Union, 1862 - A Bayonet Charge, Harper")
.jpg "Attack on Leith, c. 1560, c. 1880")
.jpg "The Terror during the French Revolution: the siege of Toulon from September to December 1793 by the troops of Captain Napoleon Bonaparte against the city allied to the English forces.")
.jpg "The War for the Union, 1862—A Bayonet Charge")
.jpg "Captain Yorke Leading the Forlorn Hope at Masulipatam, Illustration from Cassell")
.jpg "A Handful of Bersaglieri Holding an Advanced Post Were Cut to Pieces")
.jpg "Attack of the mutineers on the Redan Battery at Lucknow, 30 July 1857, c1860")
.jpg "China. War of Boxers")
.jpg "Battle of Majuba Hill, 1st Boer War")
.jpg "The War for the Union - A Bayonet Charge")
.jpg "Second Battle of Kassassin September 9: Capture of Two Krupp Guns by the Royal Marines")
_Beritzoka_on_June_30_-_(MeisterDrucke-932815).jpg "Second Franco-Malagasy War (1895) Beritzoka on June 30")
.jpg "The Battle of Salamanca, Illustration from")
.jpg "The Defence of Arcot")
.jpg "The Mutiny at Spithead: Hauling Down the Red Flag AD 1797")
.jpg "The Mutiny at Spithead: Hauling Down the Red Flag on the")
.jpg "The French Fleet at Cronstadt: visit of the Czar, 1891, illustration from")
.jpg "Reception of Richard on His Return from the Continent, Illustration from")
.jpg "It was a night attack, and the foe had caught them napping, illustration from")
.jpg "The Football Match, 1890")
.jpg "Mr Stanley and some of his African followers on board HMS Industry, published in")
.jpg "Captain Walpole intercepting the Duke of Saldanha")
.jpg "Carmichael")
.jpg "About Thirty of the Crew Made a Small Show of Resistance, Illustration from")
.jpg "The Hero of Trafalgar")
.jpg "The second Relief of Lucknow, illustration from")
.jpg "The Russian Attack on Sinope, illustration from")
.jpg "Carmichael")
.jpg "Chinese officers hauling down the British Flag on the")
.jpg "In a fine equipage, drawn by splendid horses, Aouda and Phileas Fogg drove through the rich forest scenery, from Around the World in Eighty Days by Jules Verne")
.jpg "Allegory of the Plague in Manchuria, cover illustration of Le Petit Journal, 19th February 1911")
.jpg "Triumphal March of the Elf-King, illustration from")
 Caisse de Grve 1901 (lithograph) - (MeisterDrucke-143046).jpg "L")
.jpg "Tomb of Absalom, Valley of Jehoshaphat, illustration from The Life of Our Lord Jesus Christ")
.jpg "Two French Officers Assassinated at Quang-Tcheou-Wan by the Chinese, Title Page from “Le Petit Journal”, 3 December 1899")
.jpg "His Imperial Highness Prince Nicholas Alexandrovitch, future Emperor and Tsar Nicholas II, front cover illustration of")
.jpg "The Trees and the Axe, illustration from Aesop")
.jpg "Blenheim, 13th August 1704: The surrender of Marshall Tallard on the banks of the Danube")
.jpg "Allegory of March: the triumph of Minerva, the astrological symbol of Aries and Borso d")
_-_(MeisterDrucke-196785).jpg "The Cole-Heavers, published by William Humphrey in 1783")
.jpg "The Miser Who Lost His Treasure, from a late 19th century edition of Fables de La Fontaine")
.jpg "Celebration Given by the Ville of Paris for the Benefit of the Flood Victims in South France, illustration from")
.jpg "The Little Owl, 1749-73")
.jpg "The red-throated Hummingbird")
.jpg "The Fourth Estate")
 - (MeisterDrucke-103105).jpg "Orchard with roses")
.jpg "Lady with a Fan")
.jpg "The Attic Room")
 and Darius III (d330 BC) in 333 BC Roman floor mosaic removed from the Casa del Fauno (House of the Faun) - (MeisterDrucke-176569).jpg "The Alexander Mosaic, depicting the Battle of Issus between Alexander the Great (356-323 BC) and Darius III (d. 330 BC) in 333 BC, Roman floor mosaic from the Casa del Fauno (House of the Faun)")
.jpg "Sunset over Yalta")
.jpg "The Garden at Giverny, 1900")
.jpg "Knitting Girl, Watching a Toddler in the Cradle")
.jpg "Mars and Venus, Allegory of Peace")
.jpg "Landscapes, Flowers and Birds: Plum, Qing Dynasty, 1780")
.jpg "Sleeping Dachshund in an Armchair")
.jpg "The Bookworm")
.jpg "The Stages of Life")
.jpg "The Last Supper")
.jpg "Seaport with the Embarkation of the Queen of Sheba")

 +43 4257 29415
 support@meisterdrucke.com
 Mo-Do: 7:00 - 16:00 | Fr: 7:00 - 13:00