-
 ×
× - Home
- Art Prints ▸
- Artists ▸
- Categories ▸
- Art Styles ▸
- Picture Frame ▸
- All decorative frames
- Baroque decorative frames
- Simple decorative frames
- Rustic decorative frames
- Floating frames
- Golden decorative frames
- Silver decorative frames
- White decorative frames
- Black decorative frames
- Wood-look decorative frames
- Shabby chic decorative frames
- Thin decorative frames
- Thick decorative frames
- Print Media ▸
- All print media
- Canvas Leonardo (satin)
- Canvas Salvador (matte)
- Canvas Raphael (matte)
- FineArt Photo Matte
- FineArt Photo Satin
- FineArt Photo Baryte
- FineArt Photo Glossy
- Watercolor Paper Munch
- Watercolor Paper Renoir
- Watercolor Paper Turner
- Watercolor Paper Dürer
- Natural Line Hemp
- Natural Line Rice
- Kozo White, 110g
- Kozo Natural, 110g
- Inbe White, 125g
- Unryu, 55g
- Bamboo, 110g
- Premio Unryu, 165g
- Murakumo Natural, 42g
- Bizan Natural, 300g
- Bizan White, 300g
- Aluminum composite 3mm
- Acrylic glass 5mm
- Order Sample Set
- Which print medium is right for you?
Canvas
Photo Paper
Watercolor Board
Natural Line
Japanese Paper
Special Media
More information
- Help & Service ▸
- Contact us
- Sell your art
- Frequently Asked Questions
- Job Openings
- Complaint
- Order Samples
- Order Vouchers
- Shipping costs
- Production time
- Sustainability
- Image research
- Special requests
- Who are we?
- Pricing policy
- Company policy
- Quality promise
- Awards
- Stretcher frame
- Mats
- Decorative frames
- Glazing
- Fillets
- Mounting systems
- Print media
- Care tips
- Legal Notice
- Terms & Conditions
- Privacy Policy
- Right of Cancellation
Info & Service
More information
Good to know
Legal information
- Shop ▸
- Contact





 View in 3D / AR
 Add to favorites
 Change wall color
 View picture in a room
_-_(MeisterDrucke-1551775).jpg "No Trace of Man Appeared")
.jpg "Fear death? To feel the fog in my throat, illustration from")
.jpg "The Strangers in the Village, Illustration from")
.jpg "For thence a paradox, illustration from")
.jpg "I have come to fight you, Robber of my Beloved, scene from Sucna Murga in Children")
.jpg "Gustavus Escaping from Prison")
.jpg "Illustration from")
.jpg "Illustration from")
.jpg)
_-_(MeisterDrucke-1546072).jpg "And Some There Be That Hail Him")
.jpg "Illustration by Alphonse Mucha from")
.jpg "Anonymous illustration for")
.jpg "While you do here snoring lie, illustration from The Tempest, 1908")
.jpg "Fury! Fury! There, Tyrant, There Hark! Hark! (illustration from The Tempest)")
_-_(MeisterDrucke-1451008).jpg "The Prince from Briar Rose (Sleeping Beauty)")
_for_The_Dream_of_a_Summer_Night_by_Wi_-_(MeisterDrucke-948605).jpg "Illustration by Arthur Rackham for The Dream of a Summer Night by William Shakespeare")
.jpg "Siegfried Leaves Brunnhilde in Search of Adventure")
.jpg "Bursting from Them, Hamlet Followed Whithersoever the Spirit Led, from Tales from Shakespeare")
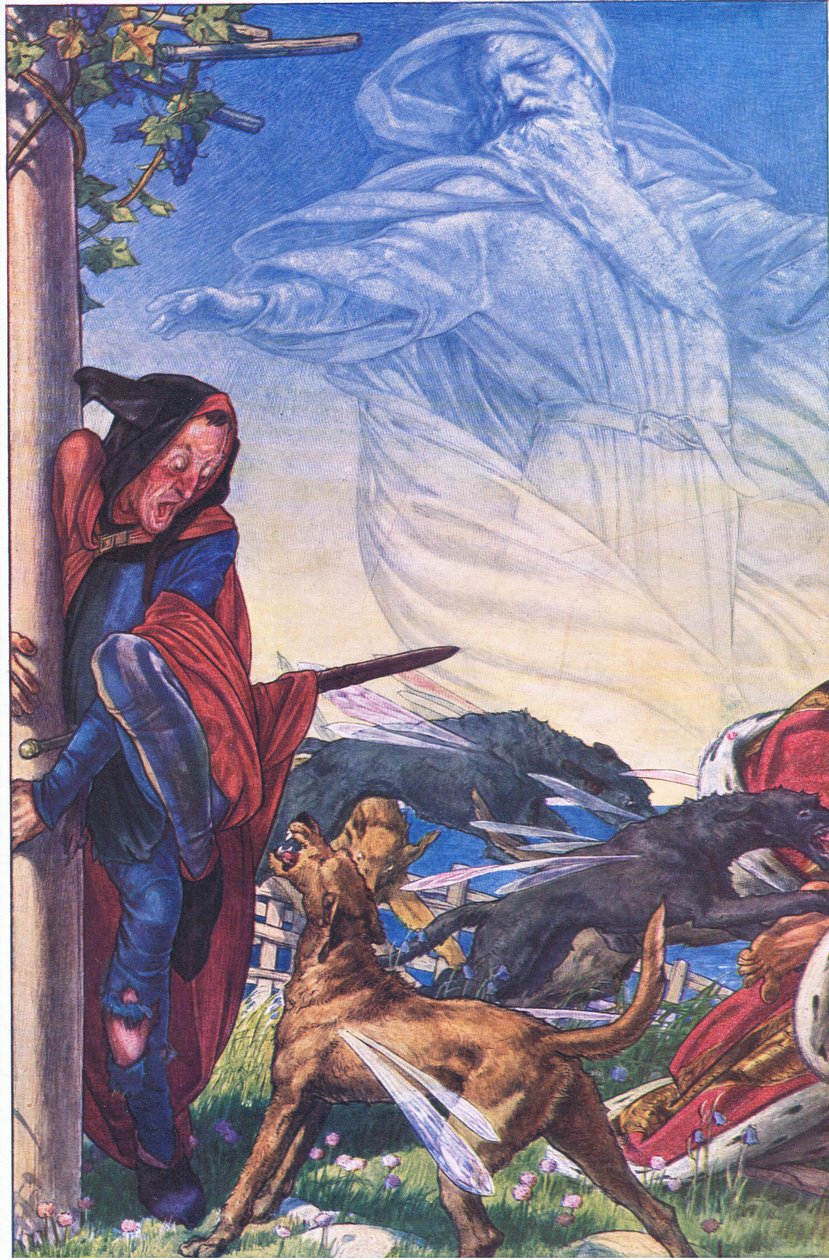
.jpg "The Voracious Dog...Sprang Forward and Tried to Fasten Himself Upon Odin")
.jpg "There shall never be one lost, illustration from")
.jpg "The Prince consulting a peasant, illustration for")
.jpg "Great-Heart drives back the lion")
.jpg "The Angel with the Key to the Bottomless Pit")
.jpg "A Woman and Angels Showing Way to a Boy - in “Journey to the Bottom of the Sea” by H. de la Blanchère. Paris, ed. Jouvet et Cie, sd. 1880")
.jpg "Don Quixote Doing Penance, illustration from")
.jpg "Hill Error")
.jpg "You Have But to Give Me a Sack")
.jpg "The Damnation of Faust by Hector Berlioz")
.jpg "Prospero and Ariel, a study for a lost picture commissioned for Broadcasting House, London")
.jpg)
.jpg "Give us kind keepers, Heavens! - what were these?, illustration from The Tempest, 1908")
.jpg)
.jpg "Give us kind keepers, Heavens! - what were these?, illustration from The Tempest, 1908")
_-_(MeisterDrucke-1130858).jpg "The Coronation of the Virgin, c.1910")
.jpg "Four legs and two voices: A most delicate monster!, illustration from The Tempest, 1908")
.jpg "Fury! Fury! There, Tyrant, There Hark! Hark! (illustration from The Tempest)")
.jpg "Design for a Stained Glass Window, Late 1920s")
.jpg "The Queen of the Sky, Whose Watery Arch and Mess and I, Bides the Leave These (illustration from The Tempest)")
.jpg "Ariel as a harpy, illustration from The Tempest, 1908")
.jpg "She did confine thee, by help of her most potent ministers and in her most unmitigable rage, into a cloven pine, illustration from The Tempest, 1908")
.jpg "Come unto the yellow sands, illustration from The Tempest, 1908")
.jpg "On the Bat")
.jpg "Juno, Ceres and the Masque of the Nymphs and Reaper (illustration from The Tempest)")
.jpg "And yet I needs must curse, illustration from The Tempest, 1908")
.jpg "Flowers in a Crystal Vase, c.1882")
.jpg "Construction, 1923")
.jpg "Nymphs and Satyr")
.jpg "Eldena Abbey Ruins near Greifswald")
.jpg "View of the Dents-du-Midi from Champéry")
_-_(MeisterDrucke-368837).jpg "Boy Viewing Mount Fuji, 1839")
_-_(MeisterDrucke-644528).jpg "Satan Viewing the Ascent to Heaven, c.1827")
.jpg "Rain, Steam and Speed, The Great Western Railway")
.jpg "Suigin Grove and Masaki, on the Sumida River, from")
.jpg "On the Sailing Ship")
.jpg "Wanderer above the Sea of Fog")
 - (MeisterDrucke-606786).jpg "The Garden of Earthly Delights, inner left wing (Paradise)")
.jpg "The Seven Works of Mercy")
_-_Lensing_Galaxy_Cluster_(Webbs_First_Deep_Field)_-_(MeisterDrucke-1420924).jpg "Lensing Galaxy Cluster (Webb")
.jpg "The Open Window")

 +43 4257 29415
 support@meisterdrucke.com
 Mo-Do: 7:00 - 16:00 | Fr: 7:00 - 13:00