support@meisterdrucke.com  ·  0043 4257 29415

Deutsch English Italiano Español Français Nederlands Português Svenska Polski Dansk
Search by artist, work title or style – e.g. Monet, Starry Night, Impressionism, Hokusai wave, nude. Describe the scene – e.g. green meadow, abstract with lots of red, dark oil painting, standing nude next to a tree.

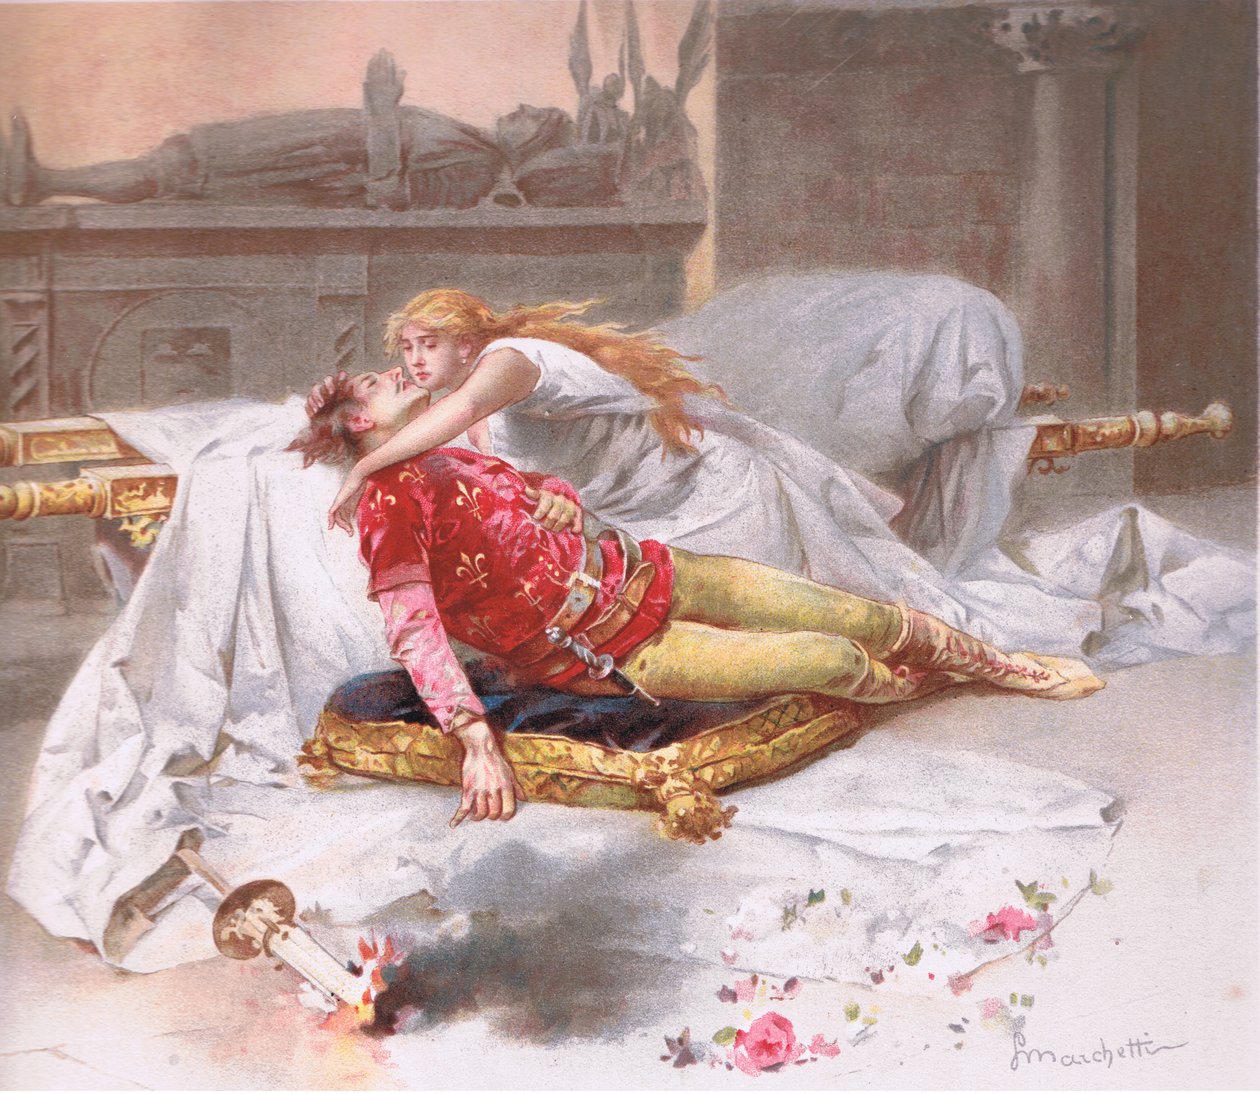
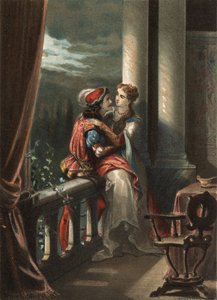
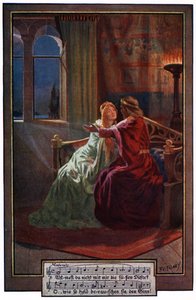
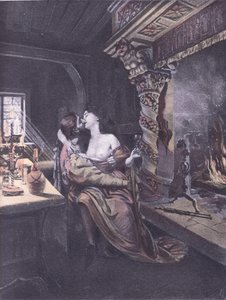
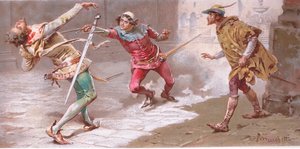
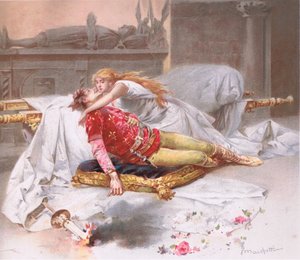
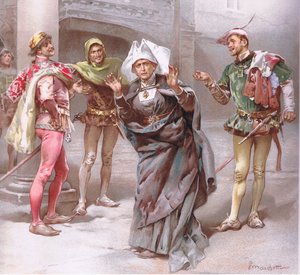
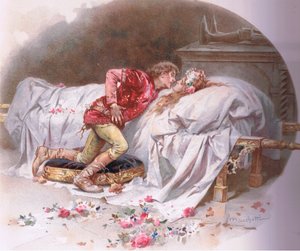
Go get thee hence for I will not away, illustration from Romeo and Juliet by Ludovico Marchetti

Go get thee hence for I will not away, illustration from Romeo and Juliet

(Go get thee hence for I will not away. , illustration fromRomeo and Juliet, )


Ludovico Marchetti

€ 115.34
Tax-free
   Configure art print
Undated  ·  colour lithograph  ·  Image ID: 391332

Nonclassified artists

Go get thee hence for I will not away, illustration from Romeo and Juliet by Ludovico Marchetti. Available as an art print on canvas, photo paper, watercolor board, natural paper, or Japanese paper.
shakespeare · play · costumes · tragedy · drama · italy · romeo · juliet · lovers · Private Collection / Bridgeman Images
AR/3D   View in 3D / AR zu Favoriten hinzufügen   Add to favorites    Change wall color    View picture in a room
0 Reviews

Configure art print

Picture Frame

Medium & Stretcher

Glass & Passepartout

Miscellaneous & Extras

 Save / compare configuration
Preview Icon

Summary

Gemälde
Veredelung
Keilrahmen
Museumslizenz

€ 115.34
(inkl. 20% MwSt)
   Add to cart

Bildschärfe: PERFEKT

If you'd like us to adjust the brightness, colors, or crop the image, we're happy to do this for you at no extra cost. Just get in touch!

Similar artworks selected for you

Thy drugs are quick. Thus with a kiss I die., illustration from Romeo and Juliet The Pardon Refused from Sir Walter Scott Romeo and Juliet Scene from Romeo and Juliette opera, circa 1880 Death of Francesca da Rimini and Paolo Malatesta, 1870 The Devotion of Princess Sybille, 1832 Death of Francesca de Rimini and Paolo Malatesta (1284) Scene from Shakespeare Romeo and Juliet Paolo and Francesca The Death of Alcibiades Tristan and Iseult Tristan and Isolt (Death) The Sleeping Beauty of Perrault Romeo and Juliet, a tale by Masuccio Salernitano (Masuccio de Salerno), at the end of the 15th century. In “El Culto de la Hermosura” by Juan Justo Huguet, Molinas Hermanos Editores The Prince finds the Sleeping Beauty, illustration from ‘Once Upon a Time’, published by Ernest Mister, c. 1900 Romeo and Juliet from The wanton lady, Stories from the Faerie Queen published by George Harrap and Company Romeo and Juliet The Knight tries to Allay the Doubts of Elsa, illustration from Romeo and Juliet Paolo and Francesca, 1894 Illustration of the last scene of the ballet Romeo and Juliet Romeo and Juliet, Act V Scene 3, illustration from ’Tales from Shakespeare’ by Charles and Mary Lamb He felt her tears upon his hand, illustration from Sleeping Beauty, 1881 Rinaldo D Romeo and Juliet The Sleeping Beauty and Charming Prince
Show more similar artworks

More art prints by Ludovico Marchetti

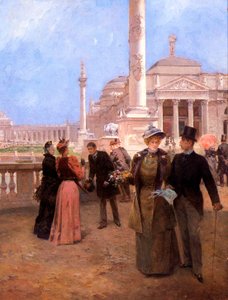
“Courage, man, the hurt cannot be much.” Illustration from Romeo and Juliet Belle Époque: “The fine supper”. Two couples drink champagne in a private lounge. Illustration by Ludovico Marchetti (1853-1909), 1893, private collection Who the Devil Told You We Were Going to Charge? John I could not send it. Here it is again, illustration from Romeo and Juliet Thy drugs are quick. Thus with a kiss I die., illustration from Romeo and Juliet Friar: Holy Francis! What a change is here (illustration from Romeo and Juliet) Go get thee hence for I will not away, illustration from Romeo and Juliet The Flower Sellers You See, Sir, Surrender Is Out of the Question Juliet: Ah me! Romeo she speaks (illustration from Romeo and Juliet) Nurse: God ye good morrow gentlemen (illustration from Romeo and Juliet) Fair Juliet that with angels dost remain, illustration from Romeo and Juliet An open place adjoining Capulet The Grand Plaza, World The Proposal
Show more works by Ludovico Marchetti

A selection of our top sellers

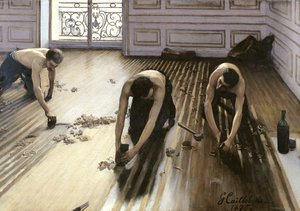
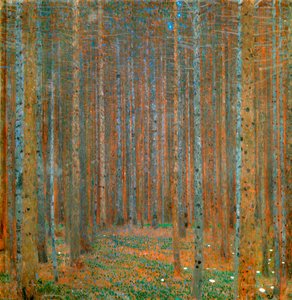
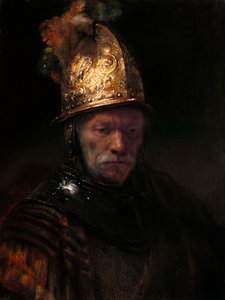
The Lake, Petworth, Sunset; Sample Study Riding Couple The Voyage of Life: Youth, 1842 Sleeping Dachshund in an Armchair Winter Landscape, 1835-8 The Annunciation, c.1438-45 Ice Floes at Bennecourt Cubist Lilies The Parquet Planers Fir Forest I, 1901 Open Window, Collioure The Man with the Golden Helmet, c. 1650 Sailing Ship in the Fog Female Lute Player Circe Offering the Cup to Odysseus
Show more artworks


What our customers think about us


Frequently Asked Questions about Meisterdrucke


Personalizing your art print at Meisterdrucke is simple and intuitive: Choose a frame, set the image size, pick a printing medium, and add suitable glazing or a stretcher frame. We also offer additional customization options like mats, fillets, and spacers. If you have any questions, our customer service team is ready to help you create your perfect artwork.

At Meisterdrucke, you can visualize your configured artwork directly in your own room. Simply upload a photo of your space and see how the artwork looks in it. If you're visiting us on a mobile device — phone or tablet — our augmented reality feature brings the picture to life and projects it right into your room. A unique experience that combines art and technology.

Choosing the right medium is often a matter of personal taste. To give you a better idea, we've provided some images for each medium. We also offer a sample set of all paper variants, so you can decide not just visually but by touch as well. You can order the sample set free of charge — only shipping costs apply.

Don't worry! At Meisterdrucke, we don't just process orders mechanically. Every order is manually reviewed by our team. If we spot any inconsistencies or issues with your configuration, we'll get in touch with you right away. And of course, our friendly and patient support team is always here to help you with your configuration. We'll work with you by phone or email to adjust your image so the final result is exactly what you had in mind.


Still have questions?

Are you interested in an art print from our manufactory but still unsure? Do you need advice on choosing the medium or help with the order?

Our experts are happy to assist you.

+43 4257 29415
support@meisterdrucke.com

Mo-Do: 7:00 - 16:00 | Fr: 7:00 - 13:00

Still have questions?

Are you interested in an art print from our manufactory but still unsure? Do you need advice on choosing the medium or help with the order?

Our experts are happy to assist you.

+43 4257 29415
support@meisterdrucke.com
Mo-Do: 7:00 - 16:00 | Fr: 7:00 - 13:00


Meisterdrucke

   Kärntner Strasse 46
        9586 Finkenstein am Faaker See
        Austria
        +43 4257 29415
        support@meisterdrucke.com
Other languages

                   
Erfahrungen & Bewertungen zu Meisterdrucke
Post.at DHL Express Quehenberger Cargoboard
Kaiser Franz Joseph

Meisterdrucke
Kärntner Strasse 46
9586 Finkenstein am Faaker See · Austria
+43 4257 29415 · support@meisterdrucke.com
Post.at DHL Express Quehenberger Cargoboard


(c) 2026 meisterdrucke.uk