-
 ×
×
- Home
- Art Prints ▸
- Artists ▸
- Categories ▸
- Art Styles ▸
-
Picture Frame ▸
- All decorative frames
- Baroque decorative frames
- Simple decorative frames
- Rustic decorative frames
- Floating frames
- Golden decorative frames
- Silver decorative frames
- White decorative frames
- Black decorative frames
- Wood-look decorative frames
- Shabby chic decorative frames
- Thin decorative frames
- Thick decorative frames
-
Print Media ▸
- All print media
- Canvas Leonardo (satin)
- Canvas Salvador (matte)
- Canvas Raphael (matte)
- FineArt Photo Matte
- FineArt Photo Satin
- FineArt Photo Baryte
- FineArt Photo Glossy
- Watercolor Paper Munch
- Watercolor Paper Renoir
- Watercolor Paper Turner
- Watercolor Paper Dürer
- Natural Line Hemp
- Natural Line Rice
- Kozo White, 110g
- Kozo Natural, 110g
- Inbe White, 125g
- Unryu, 55g
- Bamboo, 110g
- Premio Unryu, 165g
- Murakumo Natural, 42g
- Bizan Natural, 300g
- Bizan White, 300g
- Aluminum composite 3mm
- Acrylic glass 5mm
- Order Sample Set
- Which print medium is right for you?
Canvas
Photo Paper
Watercolor Board
Natural Line
Japanese Paper
Special Media
More information
-
Help & Service ▸
- Contact us
- Sell your art
- Frequently Asked Questions
- Job Openings
- Complaint
- Order Samples
- Order Vouchers
- Shipping costs
- Production time
- Sustainability
- Image research
- Special requests
- Who are we?
- Pricing policy
- Company policy
- Quality promise
- Stretcher frame
- Mats
- Decorative frames
- Glazing
- Fillets
- Mounting systems
- Print media
- Care tips
- Legal Notice
- Terms & Conditions
- Privacy Policy
- Right of Cancellation
Info & Service
More information
Good to know
Legal information
- Shop ▸
- Contact
")
.jpg)
.jpg)
.jpg)
.jpg)
_-_(MeisterDrucke-1398432).jpg "Straight into Its Right Eye Went the Flaming Point")
.jpg "The Hot Blood Burns Like Fire!")
.jpg "One of the Gods, Donner, Summons the Mist Away, 1910")
.jpg "Siegfried leaves Brunnhilde in search of adventure, illustration from")
.jpg)
.jpg "The Rhine")
.jpg "In the forked glen into which he slipped at night-fall he was surrounded by giant toads, illustration from")
.jpg)
.jpg "The dwarves quarrelling over the body of Fafner, illustration from")
.jpg "The Rhine")
.jpg "Seize the Despoiler! Rescue the Gold! Help Us! Help Us! Woe! Woe!, 1910")
.jpg "The contest between the North wind and the sun")
.jpg "Thor Raises His Hammer")
.jpg "Sigurd the Dragon Slayer")
.jpg "Siegfried Kills Fafner")
.jpg "Fricka Approaches in Anger")
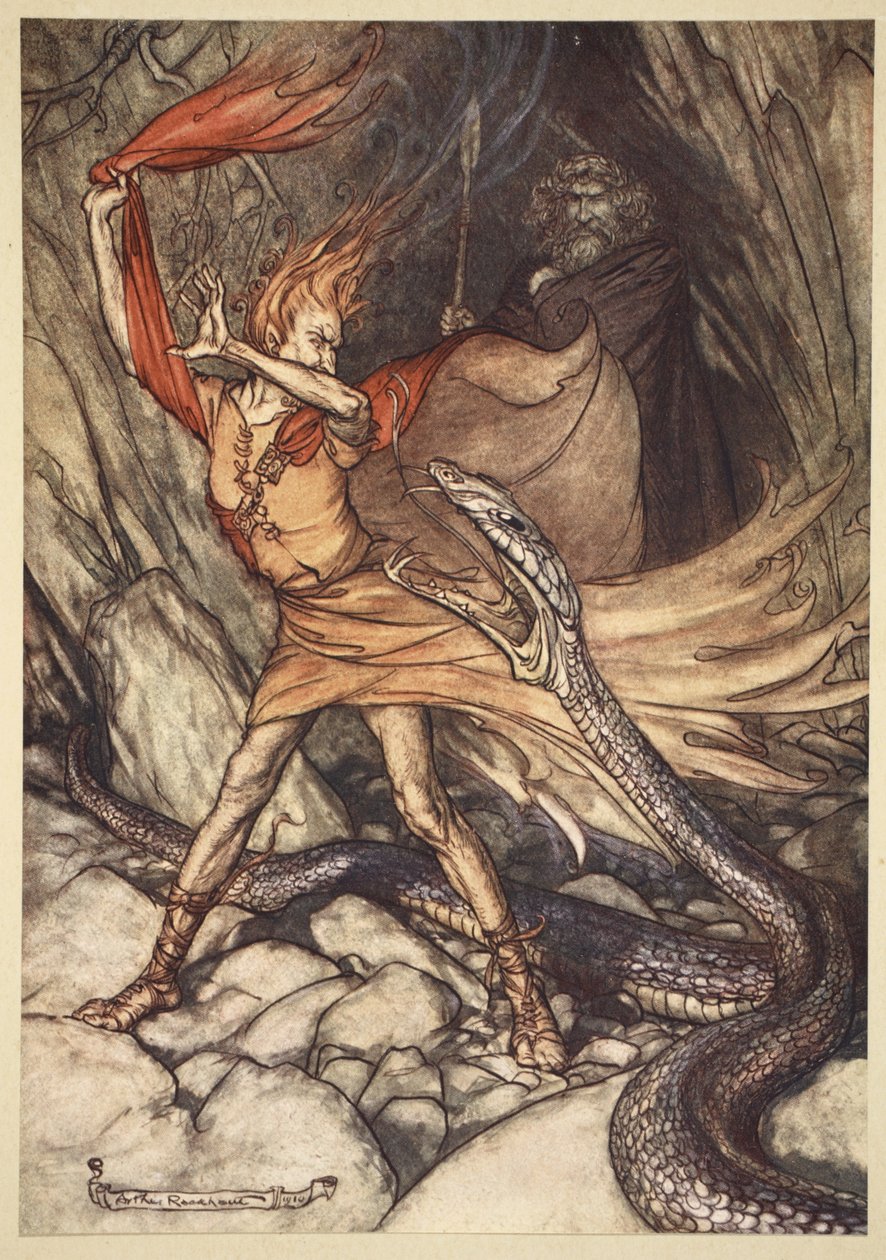
.jpg "Queen of Snakes, Give me back my husband, illustration from The Olive Fairy Book by Andrew Laing, 1907")
.jpg "Seize the despoiler! Rescue the Gold! Help Us! Help Us! Woe! Woe!, illustration from")
.jpg "Fricka Approaches in Anger, Illustration from")
.jpg "Siegfried Leaves Brunnhilde in Search of Adventure")
.jpg "They ran him by hill and plain, c1910")
.jpg "The Jabberwock, with Eyes of Flame, Came Whiffling Through the Tulgey Wood, Alice")
.jpg "Sigurd the Dragon Slayer, 1901")
.jpg "The Rhine Maidens obtain possession of the ring and bear it off in triumph")
.jpg "Brunnhilde with Her Horse at the Mouth of the Cave")
.jpg "Fasolt Suddenly Seizes Freia and Drags Her to One Side with Fafner, 1910")
.jpg "Twilight Dreams")
.jpg "The Old Woman in the Wood")
.jpg "Illustration to the story Catskin, from English Fairy Tales Retold by F.A. Steel, 1927")
.jpg "The Fox and the Crow, illustration from")
.jpg "Siegfried Forges His Sword. Illustration for Siegfried and The Twilight of the Gods by Richard Wagner")
.jpg "Danae and Her Son Perseus, 1903")
.jpg "Brünnhilde on Grane Leaps onto the Funeral Pyre of Siegfried")
.jpg "Wotan Turns and Looks Sorrowfully Back at Brünnhilde. Illustration for The Rhinegold and The Valkyr")
.jpg "By day she made herself into a cat")
_for_The_Dre_-_(MeisterDrucke-982935).jpg "Titania the queen of fairies. Illustration by Arthur Rackham for A Midsummer Night")
.jpg "How Mordred was Slain by Arthur, and How by Him Arthur was Hurt to the Death, Illustration from Alfred Pollard")
.jpg "The Fairies Song, from")
.jpg "The ring upon thy hand. Illustration for Siegfried and The Twilight of the Gods by Richard Wagner")
.jpg "Brunnhilde with her horse at the mouth of the cave, illustration from")
.jpg "The Serpentine is a lovely lake, and there is a drowned forest at the bottom of it. If you peer over the edge you can see the trees all growing upside down, from Peter Pan in Kensington Gardens by J.M. Barrie, pub. 1906")
.jpg "Jockey on a Galloping Horse")
.jpg "Song of Shambhala")
.jpg "Composition 8. 1923")
.jpg "The Attic Room")
_-_Lensing_Galaxy_Cluster_(Webbs_First_Deep_Field)_-_(MeisterDrucke-1420924).jpg "Lensing Galaxy Cluster (Webb")
.jpg "Rosa centifolia foliacea, from Les Roses, 1817-24")
.jpg "Angel Musician")
.jpg "Lovers of the Sun")
.jpg "Garden in St. Germain, the European Quarter near Tunis. 1914")
.jpg "Composition Z VIII")
.jpg "Le Lavandou")
.jpg "Small Rhythmic Landscape")
.jpg "The Garden of Earthly Delights (Central panel)")
.jpg "Judith with the Head of Holofernes")
.jpg "A Pathway in Monet")


