support@meisterdrucke.com  ·  0043 4257 29415

Deutsch English Italiano Español Français Nederlands Português Svenska Polski Dansk
Search by artist, work title or style – e.g. Monet, Starry Night, Impressionism, Hokusai wave, nude. Describe the scene – e.g. green meadow, abstract with lots of red, dark oil painting, standing nude next to a tree.

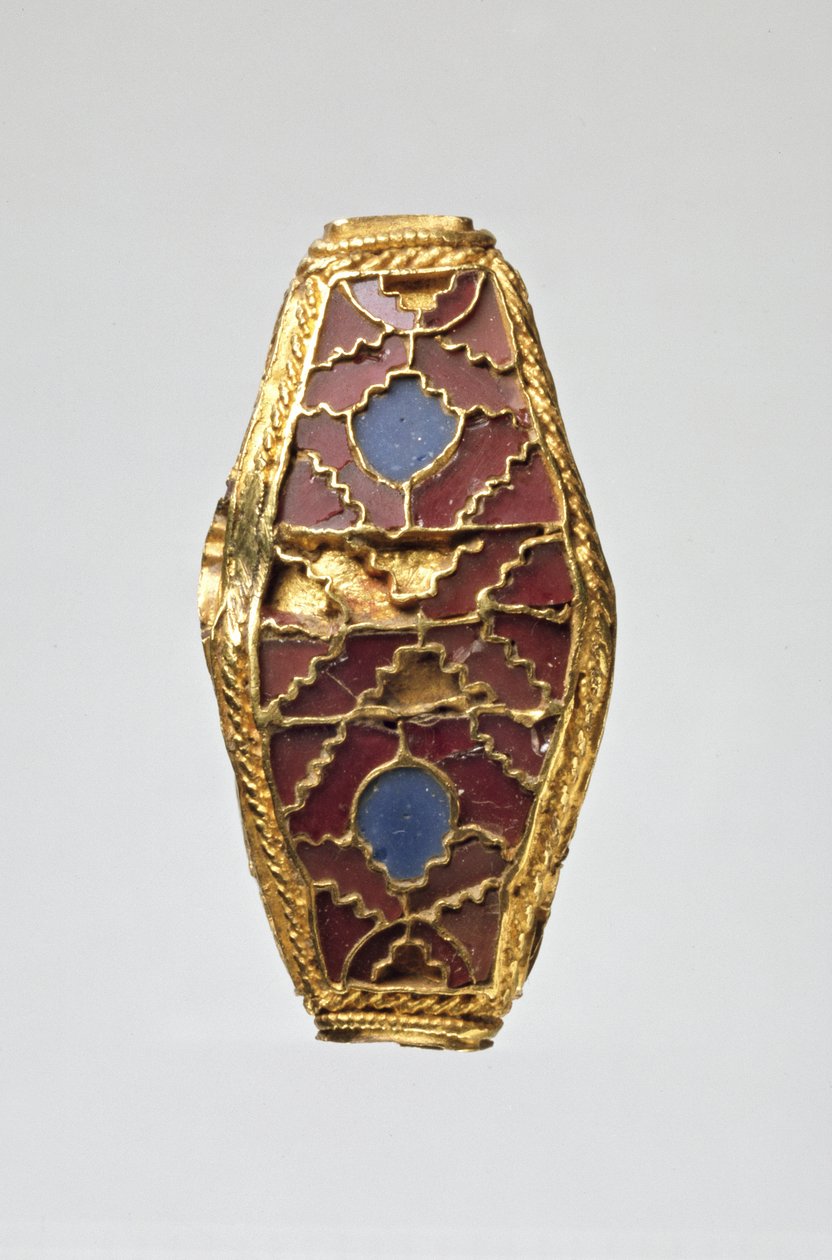
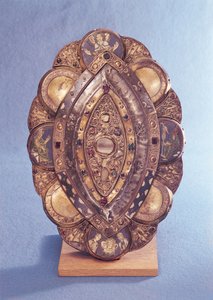
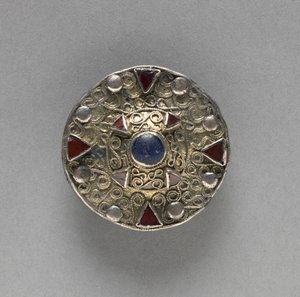
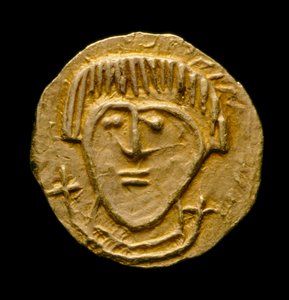
Four-sided lentoid bead by Anglo-Saxon

Four-sided lentoid bead

(Four-sided lentoid bead (enamel, garnet und gold))


Anglo-Saxon

€ 138.24
Tax-free
   Configure art print
Undated  ·  enamel, garnet, gold  ·  Image ID: 225896

Cultural Circles

Four-sided lentoid bead by Anglo-Saxon. Available as an art print on canvas, photo paper, watercolor board, natural paper, or Japanese paper.
Ashmolean Museum, University of Oxford, UK / Bridgeman Images
AR/3D   View in 3D / AR zu Favoriten hinzufügen   Add to favorites    Change wall color    View picture in a room
0 Reviews

Configure art print

Picture Frame

Medium & Stretcher

Glass & Passepartout

Miscellaneous & Extras

 Save / compare configuration
Preview Icon

Summary

Gemälde
Veredelung
Keilrahmen
Museumslizenz

€ 138.24
(inkl. 20% MwSt)
   Add to cart

Bildschärfe: PERFEKT

If you'd like us to adjust the brightness, colors, or crop the image, we're happy to do this for you at no extra cost. Just get in touch!

Similar artworks selected for you

East Roman Jewel Round brooch Jewelled Disc Brooch, from Sarre, Kent, Anglo-Saxon (gold with silver, garnets and shell) Ciborium, made in Limoges by G. Alpais for the Abbey at Montmajour Plaque, probably from a Reliquary Shrine The Alfred Jewel Charlemagne Almond-Shaped Pendant, 400-600 Ring, 800s The Alfred Jewel (side view) Reliquary in Purse Form, c.1320 Tab Amber Cup Polylobed elliptical reliquary Minster Lovell Jewel Frame Depicting the Triumph of Saint Michael, Trapani, First Half of the 17th Century Pomander Spyglass, c.1750-60 Plaque from a Reliquary Shrine, c. 1170 The silver side of the shrine of St. Patrick’s Bell, from Armagh, Ireland, c. 1100 Cover to Sword Sheath, 5th Century BC King Henry VIII Head of a Crozier with Saint Michael Slaying the Dragon Crozier head depicting St. Michael Trampling the Serpent, c.1225-50 Buckle with Embossed Head in Profile Polylobed reliquary, 13th century Filigree Disk Brooch with Central Boss, late 600s Jewelled disc pendant, from Faversham, Kent, Anglo-Saxon Bracelet with the cartouche of Psusennes I (c.1039-991 BC) found on the arms of King Amenemope at Tanis, Third Intermediate Period
Show more similar artworks

More art prints by Anglo-Saxon

Thrymsa, Runic ’Constantine’ type (obverse) (for reverse see 168079) Thrymsa, Runic “Constantine” type (obverse) (gold) (for reverse see 168079) The Abingdon Sword, Late Saxon, Trewhiddle style of late 9th century Long gilt bronze square-headed brooch (copper alloy, gold, gilded) Shrouded woman, found at Horncastle Household equipment, Anglo-Saxon, probably 5th-7th century Disc brooch, from Benevento, Campania, Anglo-Saxon, 7th century (gold, onyx and amethyst) Late Saxon ring, probably c.7th century, gold detail of 115707 A pair of saucer brooches and a square-headed brooch, found at Fairford, Gloucestershire, Anglo-Saxon, 5th-6th century Jewelled Disc Pendants, Anglo-Saxon (Gold, Silver Gilt and Semi-Precious Stones) Complete non-local Anglo-Saxon Coin Hoard, the Crondall Hoard, from Crondall, Hampshire Bracteate Pendant, from Faversham, Kent, Anglo-Saxon The Alfred Jewel Crondall Coin No. 59, Anglo-Saxon Coin from the Crondall Hoard, Crondall, Hampshire Jewelled disc brooch, 6th century
Show more works by Anglo-Saxon

A selection of our top sellers

Venice, The Pink Cloud, 1909 Colored Leaves at Kaianji Temple, 1837-1844 Netherlandish Proverbs Yellow - Red - Blue The Death of Socrates The Sleeping Gypsy Isle of the Dead. 1883 (Third version of five) Kingfisher by the Waterside Attersee The Embrace, 1917 Illustration from Edgar Allan Poe Joan of Arc, 1879 Jacob Circe Offering the Cup to Odysseus The Harvest
Show more artworks


What our customers think about us


Frequently Asked Questions about Meisterdrucke


Personalizing your art print at Meisterdrucke is simple and intuitive: Choose a frame, set the image size, pick a printing medium, and add suitable glazing or a stretcher frame. We also offer additional customization options like mats, fillets, and spacers. If you have any questions, our customer service team is ready to help you create your perfect artwork.

At Meisterdrucke, you can visualize your configured artwork directly in your own room. Simply upload a photo of your space and see how the artwork looks in it. If you're visiting us on a mobile device — phone or tablet — our augmented reality feature brings the picture to life and projects it right into your room. A unique experience that combines art and technology.

Choosing the right medium is often a matter of personal taste. To give you a better idea, we've provided some images for each medium. We also offer a sample set of all paper variants, so you can decide not just visually but by touch as well. You can order the sample set free of charge — only shipping costs apply.

Don't worry! At Meisterdrucke, we don't just process orders mechanically. Every order is manually reviewed by our team. If we spot any inconsistencies or issues with your configuration, we'll get in touch with you right away. And of course, our friendly and patient support team is always here to help you with your configuration. We'll work with you by phone or email to adjust your image so the final result is exactly what you had in mind.


Still have questions?

Are you interested in an art print from our manufactory but still unsure? Do you need advice on choosing the medium or help with the order?

Our experts are happy to assist you.

+43 4257 29415
support@meisterdrucke.com

Mo-Do: 7:00 - 16:00 | Fr: 7:00 - 13:00

Still have questions?

Are you interested in an art print from our manufactory but still unsure? Do you need advice on choosing the medium or help with the order?

Our experts are happy to assist you.

+43 4257 29415
support@meisterdrucke.com
Mo-Do: 7:00 - 16:00 | Fr: 7:00 - 13:00

Meisterdrucke

   Kärntner Strasse 46
        9586 Finkenstein am Faaker See
        Austria
        +43 4257 29415
        support@meisterdrucke.com
Other languages

                   
Erfahrungen & Bewertungen zu Meisterdrucke
Post.at DHL Express Quehenberger Cargoboard
Kaiser Franz Joseph

Meisterdrucke
Kärntner Strasse 46
9586 Finkenstein am Faaker See · Austria
+43 4257 29415 · support@meisterdrucke.com
Post.at DHL Express Quehenberger Cargoboard


(c) 2026 meisterdrucke.uk