-
 ×
×
- Home
- Art Prints ▸
- Artists ▸
- Categories ▸
- Art Styles ▸
-
Picture Frame ▸
- All decorative frames
- Baroque decorative frames
- Simple decorative frames
- Rustic decorative frames
- Floating frames
- Golden decorative frames
- Silver decorative frames
- White decorative frames
- Black decorative frames
- Wood-look decorative frames
- Shabby chic decorative frames
- Thin decorative frames
- Thick decorative frames
-
Print Media ▸
- All print media
- Canvas Leonardo (satin)
- Canvas Salvador (matte)
- Canvas Raphael (matte)
- FineArt Photo Matte
- FineArt Photo Satin
- FineArt Photo Baryte
- FineArt Photo Glossy
- Watercolor Paper Munch
- Watercolor Paper Renoir
- Watercolor Paper Turner
- Watercolor Paper Dürer
- Natural Line Hemp
- Natural Line Rice
- Kozo White, 110g
- Kozo Natural, 110g
- Inbe White, 125g
- Unryu, 55g
- Bamboo, 110g
- Premio Unryu, 165g
- Murakumo Natural, 42g
- Bizan Natural, 300g
- Bizan White, 300g
- Aluminum composite 3mm
- Acrylic glass 5mm
- Order Sample Set
- Which print medium is right for you?
Canvas
Photo Paper
Watercolor Board
Natural Line
Japanese Paper
Special Media
More information
-
Help & Service ▸
- Contact us
- Sell your art
- Frequently Asked Questions
- Job Openings
- Complaint
- Order Samples
- Order Vouchers
- Shipping costs
- Production time
- Sustainability
- Image research
- Special requests
- Who are we?
- Pricing policy
- Company policy
- Quality promise
- Stretcher frame
- Mats
- Decorative frames
- Glazing
- Fillets
- Mounting systems
- Print media
- Care tips
- Legal Notice
- Terms & Conditions
- Privacy Policy
- Right of Cancellation
Info & Service
More information
Good to know
Legal information
- Shop ▸
- Contact





 View in 3D / AR
 Add to favorites
 Change wall color
 View picture in a room
.jpg "Cambyses Slays the Sacred Bull, Illustration from")
.jpg "Ancient Egypt: Worship of Apis Bull")
.jpg "Fragments of the Great Colossus at The Memnonium, Thebes, from Egypt and Nubia, Vol.1")
.jpg "The Pillared Hall of Ezneh")
.jpg "View from under the Portico of Dayr E Medeeneh, Thebes")
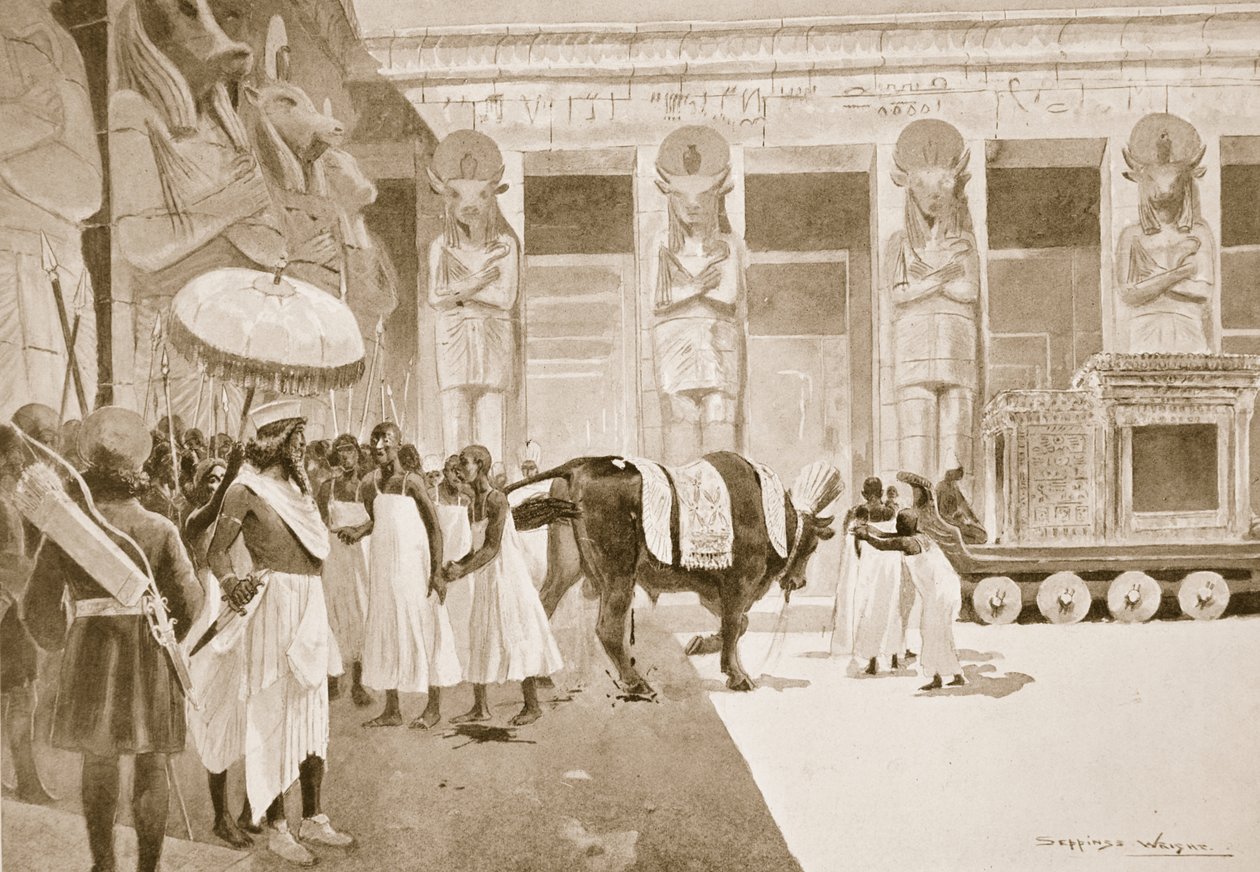
.jpg "The Procession of the Sacred Bull Apis, Late 19th or Early 20th Century")
.jpg "Assyrian: Palace-Portal")
.jpg "Colossus in Front of the Temple of Wady Sabona, Ethiopia")
.jpg "The Rameseum of El-Kurneh, Thebes")
 c1920 - (MeisterDrucke-235431).jpg "Cambyses slays the sacred bull, c.1920")
.jpg "Tell el-Amarna - reconstruction of worship of the god Aton, depicted as the solar disc")
.jpg "Temple d")
_-_(MeisterDrucke-897655).jpg "The Procession of the Sacred Bull, Apis, c.1879")
.jpg "Egypt and Nubia: Volume II - No. 4, Fragments of the Great Colossi, at the Memnonium, 1838")
.jpg "Fallen Colossus from the Ramesseum, Thebes")
.jpg "The Memnonium, Thebes, from the Plain")
.jpg "Fallen Statue at the Ramesseum, Thebes, 1857")
.jpg "Egypt and Nubia: Volume II - No. 4, Fragments of the Great Colossi, at the Memnonium")
.jpg "Fallen Statue at the Ramesseum, Thebes")
.jpg "Fragments of the Great Colossi, at the Memnonium, 19th century")
.jpg "The Temple of the Tooth, Kandy, Ceylon, 1898")
.jpg "Egypt and Nubia: Volume II - No. 7, Colossi at Wady Saboua")
.jpg "Egypt and Nubia: Volume II - No. 7, Colossi at Wady Saboua")
.jpg "The Temple at Philae")
 Abu Simbel Egypt plate 4 - (MeisterDrucke-230980).jpg "Temple of Ramesses II (1279-13 BC) Abu Simbel, Egypt, Plate 4 from")
.jpg "Musicians at Philae")
_Dovaston_-_A_Syro-_Hittite_prince_interviewing_a_group_of_his_Semitic_subjects_in_the_Bit-h_-_(MeisterDrucke-1546211).jpg "A Syro-Hittite Prince Interviewing a Group of His Semitic Subjects in the Bit-hilani, from Hutchinson")
.jpg "Stage Design for the final act of the opera")
.jpg "Egypt and Nubia, Volume II: Fragments of the Great Colossi at the Memnonium, Thebes")
.jpg "The battle between the pirates and the imperial navy")
.jpg "The Grand Canal")
.jpg "Soldiers with bits in their mouths")
.jpg "Siamese envoys paying tribute to the Emperor of China, illustration from")
.jpg "An early Hun raid 180 BC")
.jpg "A marquis and marquise of the people")
.jpg "The Return of Fa Hsien, illustration from")
.jpg "The Looting of Peking by the Rebel Li 1644 AD")
.jpg "The Great Yu Draining the Empire")
.jpg "The Mess Table in the Forest, Illustration from")
.jpg "A sacrifice in a Confucian temple 505 AD")
.jpg "The Emperor Burns Himself in His Palace")
.jpg "The Grand Marshal Proclaimed Emperor on the Battlefield, Illustration from")
.jpg "Prehistoric Chinese Tree Dweller")
.jpg "Introduction of the Pig-Tail")
_-_(MeisterDrucke-94080).jpg "Head of a Young Woman with Tousled Hair or, Leda")
.jpg "Portrait of a Lady")
.jpg "Impression: Sunrise, 1872")
.jpg "La Primavera")
.jpg "The Starry Night, June 1889")
.jpg "Three Sunflowers")
.jpg "The Grosse Gehege near Dresden")
_drawing_by_Moritz_von_Schwind_of_18_-_(MeisterDrucke-933544).jpg "The Symphony of the Cat drawing by Moritz von Schwind of 1868. Staatliche kunsthalle karlsruhe.")
.jpg "Hylas and the Nymphs")
.jpg "The Pink Peach Tree, 1888")
.jpg "In Bed: The Kiss")
.jpg "Effects of Good and Bad Government in the City and Countryside (Detail)")
.jpg "The Course of Empire. The Consummation of Empire, 1836")
.jpg "The Sin, 1899")
.jpg "Le Lavandou")

 +43 4257 29415
 support@meisterdrucke.com
 Mo-Do: 7:00 - 16:00 | Fr: 7:00 - 13:00